
Office 365 has more than 150 million mailboxes. This means that the learning curve for managing mail flow in this Cloud service can be quite extensive. Millions of emails pass through these systems every day, making spam and junk mail filtering increasingly effective. However, there may still be cases where legitimate email is marked as junk, or the opposite—junk mail reaches our inboxes.
As we know, Office 365 provides tools to manage all this mail flow. In this post, we will focus specifically on managing junk email and on how to block or allow certain senders according to our needs.
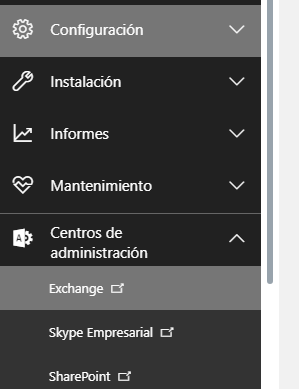
To do this, we access the Exchange Administration section from the left-hand navigation pane in the Office 365 portal:
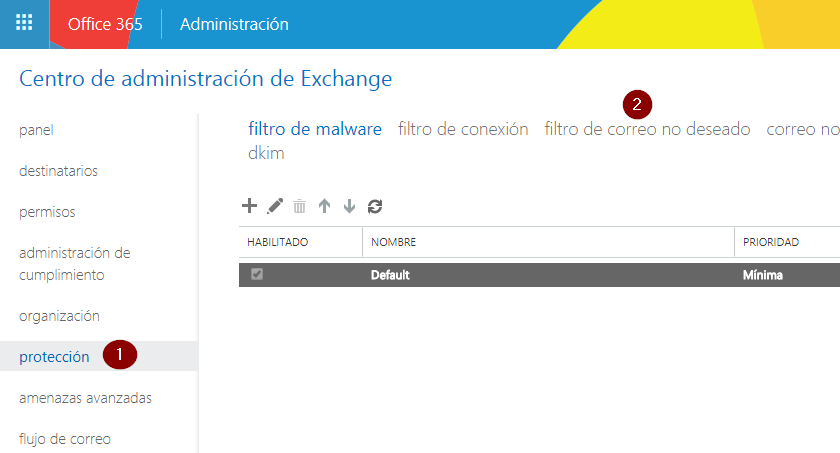
Once loaded, select “protection” and then “spam filter.”
Now select your domain from the list and click the Edit button to modify the policy.
![]()
The options we are interested in are “blocked senders lists” and “allowed senders lists.”

Both are configured in the same way. At the top, add (using the + sign) the email address or addresses (separated by semicolons) that you want to mark as blocked or allowed.

You can also allow or block entire domains. In the lower section, you can add sender domains to block or allow any email coming from any sender within that domain.

As we can see, we can manage the mail flow in our organization according to our interests and needs, and in this way control, to some extent, which emails our users receive.
We hope this has been helpful. In future posts, we will continue covering mail flow and security topics of interest to help improve our work with Office 365.